
2026 Dodge Durango Dash Cam Hardwire Installation: Vantrue S1 Pro Max
DASHCAM CRAFT · REAL INSTALLATION STUDY
What a real Durango installation teaches us about front-and-rear camera placement, hardwire power and checking what happens after the ignition switches off.
A dash cam installation has two distinct parts: fitting the equipment and understanding how it behaves. This completed hardwire installation in a 2026 Dodge Durango provides a practical example, using a Vantrue S1 Pro Max front-and-rear camera system.
The original photographs and walkthrough show the mounted front camera, rear-window camera, equipment and engine-bay fuse box. Here, Dashcam Craft looks at what those details mean for an owner planning a similar setup, especially when parking surveillance is a priority.
The Durango and camera system
| Vehicle | 2026 Dodge Durango |
|---|---|
| Camera | Vantrue Sonnet S1 Pro Max |
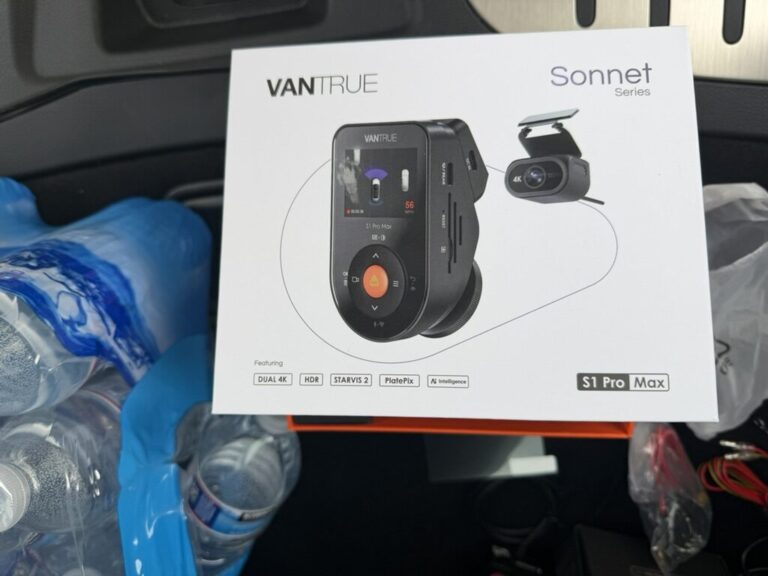
| Package identification | Dual 4K, as labelled on the supplied box |
| Coverage | Front camera and rear-window camera |
| Installation | Hardwired; completed installation reported by the installer |
The packaging matters because the S1 Pro Max name appears across different configurations. For this vehicle, the box explicitly carries Dual 4K labelling. When ordering equipment or comparing quotes, match the actual package and rear-camera version, rather than relying on the model name alone.
Packaging describes the equipment’s capability. It does not tell us which resolution was selected for a particular recording or guarantee that every passing number plate will be readable. To judge the result, review saved front and rear clips under the conditions that matter to you.
Front-camera placement near the mirror
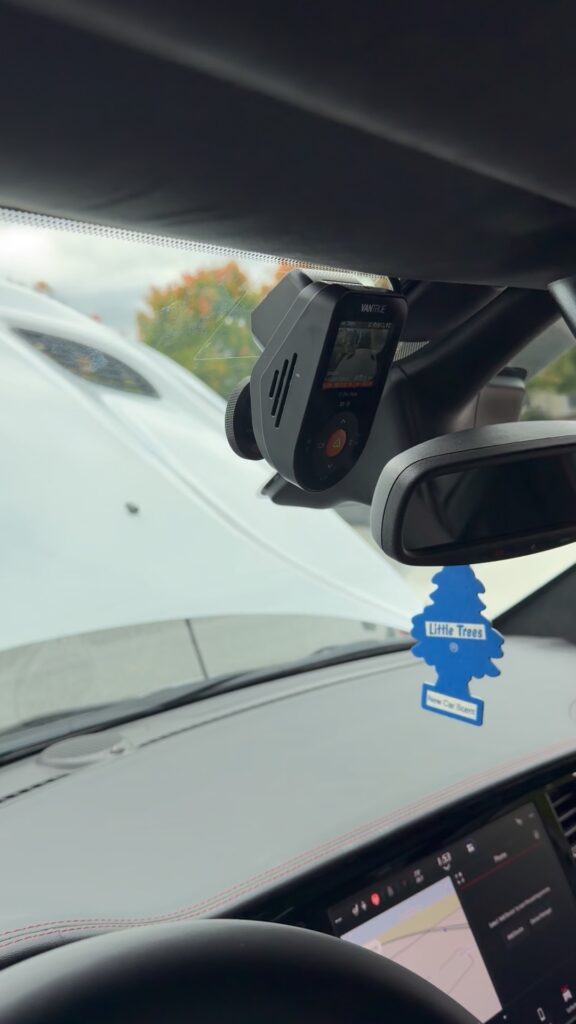
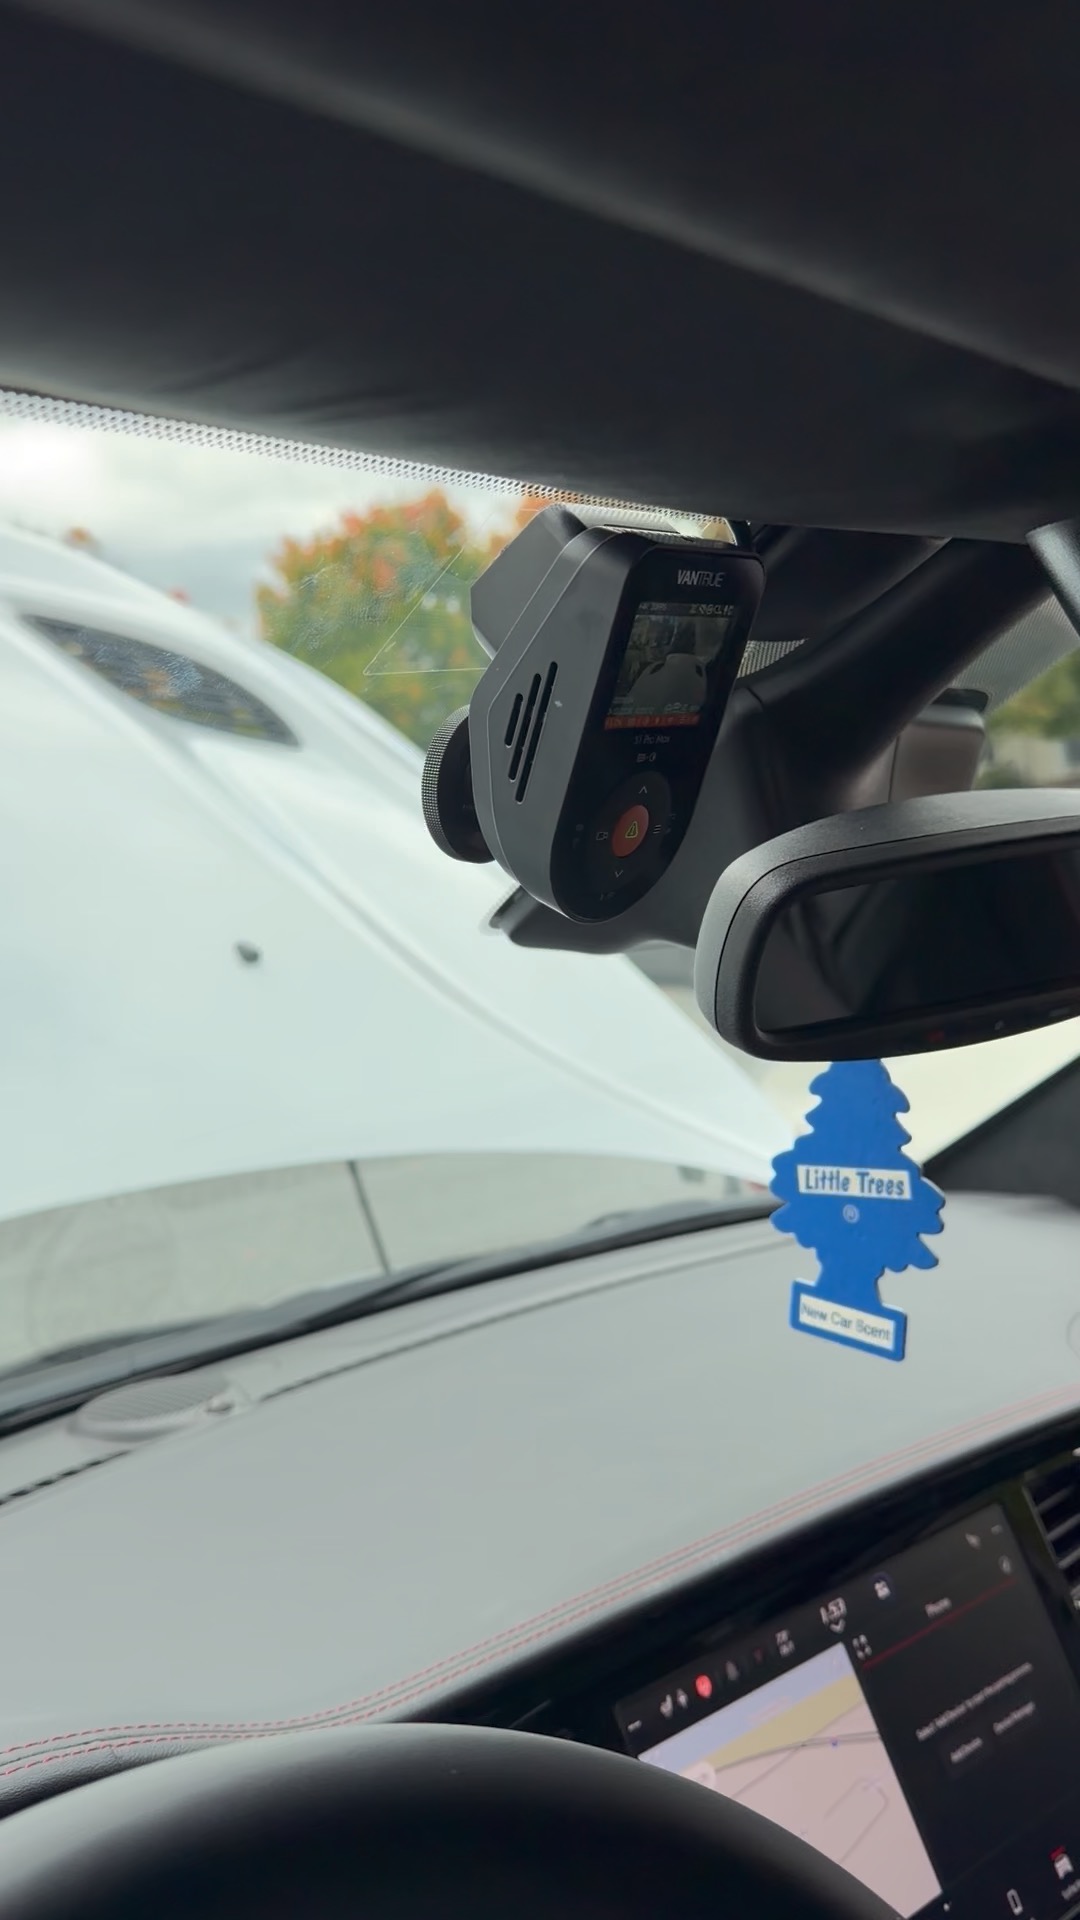
The installation record shows the Vantrue mounted near the rear-view mirror, with its display facing into the cabin. This position keeps the camera close to the upper windscreen area and leaves its controls accessible.
Before fixing a mount, assess the view from the normal driving position and the image through the camera itself. Mirror housings, windscreen borders and nearby accessories can affect the available space. Vantrue’s S1 Pro Max manual advises keeping the driver’s view clear.
The front-camera installation photograph shows an illuminated screen. That confirms the unit was powered at that moment; it is not a substitute for checking a saved recording. This distinction becomes especially important when explaining the installation to the owner.
Rear-camera placement and the moving hatch
The walkthrough shows a rear camera near the top centre of the rear window. A loop of connection cable is visible beside it. This is a useful view of the real installation rather than a product illustration.
For a large SUV, a rear camera adds a separate view of activity behind the vehicle. It does not create complete coverage around the sides. Before buying, decide whether your main concern is road incidents, damage while parked or activity around doors; those priorities may call for different camera arrangements.
At handover, review the rear image and inspect the cable as the hatch opens and closes. The practical questions are straightforward: is the image framed correctly, does the mount remain secure, and does the cable have enough movement without being pinched or pulled?
Hardwiring requires vehicle-specific checks
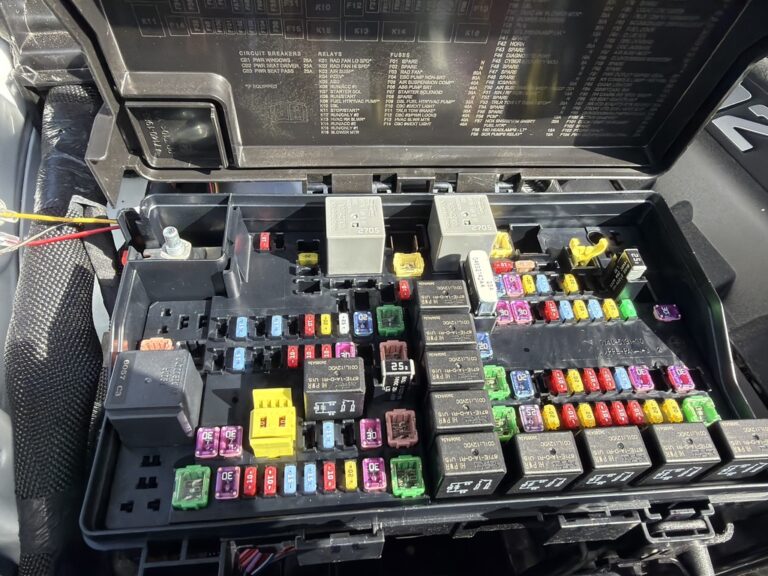
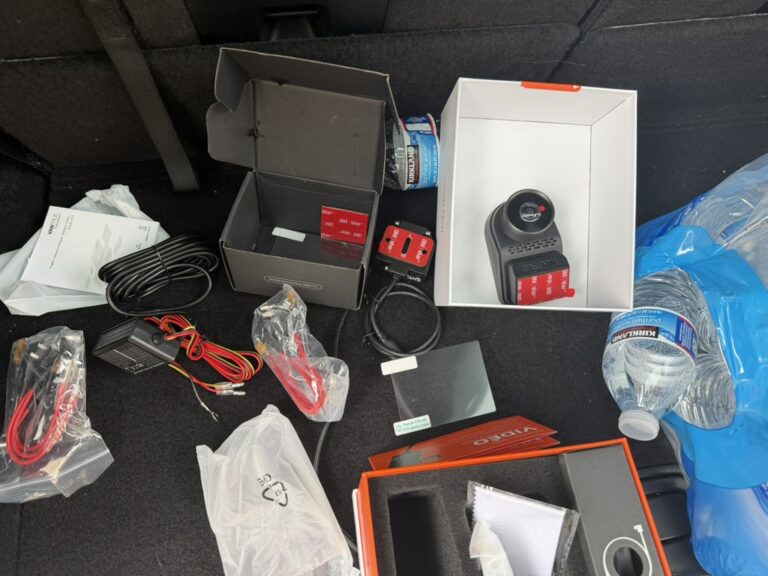
The supplied photographs document work around the Durango’s engine-bay fuse box. They show the layout clearly, but a photograph cannot establish whether a circuit stays live after the vehicle has shut down or whether it is suitable for an accessory.
A professional installation plan should identify the correct supply and ignition signal for the particular kit, assess the cable route into the cabin, and restore the fuse-box cover and any disturbed seals correctly. Heat, moving parts and sharp edges also matter along the route. Those checks are particularly relevant when the power connection is under the bonnet.
Do not copy fuse positions or wire colours from this article. Use the instructions for the exact hardwire kit and the vehicle’s documentation, with circuit behaviour verified on the vehicle. The photographs are an installation record, not a wiring diagram.
Parking mode starts with the settings
Vantrue’s manual lists parking mode as off by default and offers collision, motion, low-bitrate and low-framerate options. It also calls for a suitable continuous power source. A hardwire connection therefore needs to be considered together with the camera menu settings.
Software can affect the available controls. Vantrue’s S1 Pro Max firmware notes document Auto, ACC and G-Sensor entry/exit options. Match the instructions to the installed firmware and power arrangement; do not change a setting simply to disguise an incorrectly connected ignition signal.
Choose the intended parking behaviour before testing. An event-triggered mode and a mode that records continuously at a reduced bitrate are different ways of using the camera, so the expected result should be clear to both owner and installer.
A dark screen does not settle the question
The S1 Pro Max manual explains that its automatic LCD-off feature can blank the screen while recording continues. Consequently, screen brightness alone cannot distinguish a working recorder from a powered-down unit.
| What you notice | What to check next |
|---|---|
| The screen goes dark | Check camera status and saved files before concluding that recording stopped. |
| The camera shuts down after ignition-off | Have the installer review the power supply, selected parking mode and protection settings together. |
| Normal recording continues while parked | Confirm the intended mode and how the camera detects the change from driving to parking. |
| Parking recording stops sooner than expected | Review the power budget and any timer or cutoff; compare against a measured test. |
For this job, the media documents the physical installation. The final parking-mode selection, cutoff setting and measured recording duration are not included, so this case study does not claim a verified overnight or 24-hour runtime.
Keep storage time and power time separate
A larger memory card can retain more footage, but it cannot supply power to the camera. Plan these two requirements separately: how much video you want to keep, and how long you need recording to remain available while parked.
Use our Dash Cam Storage Calculator for a storage estimate based on your settings. Then discuss the parking power arrangement with your installer. If long stays are your priority, ask for an assessment of a compatible dedicated dash cam battery and a realistic runtime estimate.
What to ask before collecting your vehicle
- Show me a front and rear recording. Check framing, playback and the date and time.
- Demonstrate the ignition-off transition. Confirm the expected parking behaviour without manually restarting the camera.
- Explain the power protection. Record the selected settings and what may cause recording to stop.
- Show me how to save an important clip. Practise retrieving footage before you need it urgently.
- Inspect the finished cable route. Include the rear hatch, trim and any under-bonnet work.